
 The new Kdenlive transition Composite and Transform will make basic compositing a lot easier for probably many Kdenlive users. But the new transition also allows for some nice and very easy masking effects...
Note: In case you are asking yourself what the difference between Composite and Transform is with respect to Affine and Cairoblend ... it's the more "natural" handling of transparency in the "lower" clip. This new transition thus offers a "natural" way of compositing two clips with transparency each, and the result is as expected: it's like painting the non-transparent parts of the upper clip onto the lower clip. In contrast, affine will clip your upper clip based on transparency in the lower clip. But let's better get on with an example...
A Simple Multi-Layer Project
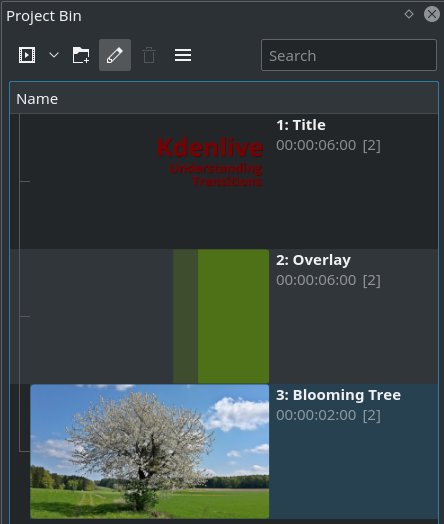 |
| Three layered clips. |
Next, we put these three clips onto three adjacent video tracks, with the title clip on top, then the overlay title clip, and finally the image clip.
Finally, we add Composite and Transform transitions to the top and middle clip. Your project timeline now should look like the one below. (I really like that the width of track headers can now be resized to show even longer, and descriptive, track titles. Of course, you can still name your tracks "i", "j", and "k"... *snicker*)
You may switch off the new timeline track compositing feature; but this is not strictly necessary, as we're using explicit transitions in the timeline. Otherwise we can't toy around with different compositing modes, because the automatic timeline track transitions are "alpha blend" only.
 |
| Example compositing project timeline. |
Now we position the timeline playhead inside the region covered by these clips. Then we select the topmost transition with the mouse, so we can see both the transition properties as well as the project monitor with the compositing result.
Did you notice that "chaining" multiple Composite and Transform transitions works out of the box as expected? You don't need to change the "track" property anymore to avoid chaining with unexpected results. Sweet, even to me as an old hand. One nugget of wisdom less to separate the newbie from the wizzard (sic!), me thinks...
Default Compositing: Alpha Blend
The compositing mode Alpha Blend will simply compose each clip onto the next lower one. In contrast to the Affine transition, the transparency information from the next lower clip won't clip the upper clip (which is a constant headache to newcomers). Composite and Transform will thus behave to common expectations when layering two clips and both clips have transparent regions.
 |
| Compose and Transform with mode: alpha blend. |
Compositing: Destination In
Now let's toy around with the compositing mode, and let's try the compositing mode Destination In. This is what we get: now we get the color and transparency from the lower clip, but with the upper clip acting as a mask.
 |
| Compose and Transform with mode: destination in. |
Compositing: Destination Out
Let's finally try out compositing mode Destination Out instead. This time, the non-transparent regions from the upper clip will be stamped out from the lower clip. The bottom nature image clip will then show through. Nice, huh?
|
| Compose and Transform with mode: destination in. |
I admit that I would need to think very hard how to achieve this nice cutout effect using the existing Kdenlive transitions. It should be possible. But with Composite and Transform it's a snap to achieve, really simple to do.
There are more compositing modes to play with, not least the typical offenders, such as screen, overlay, et cetera.
Well done, Jean-Baptiste!